b

Wednesday, September 18, 2013

Homemade Thin Mints (Grain-Free!)


This is a big deal. For this first time in 10 years, I won't be having my annual I-hate-people-who-can-eat-gluten pity party. It takes place around that magical time of year when everyone's passing around the cookie order form, smiling ear to ear. You can almost hear the gluten being digested perfectly in their sickeningly happy tummies as they order by the dozen.

But since this recipe came into my life, I can honestly say I will never need another processed, gluten-filled Thin Mint again!

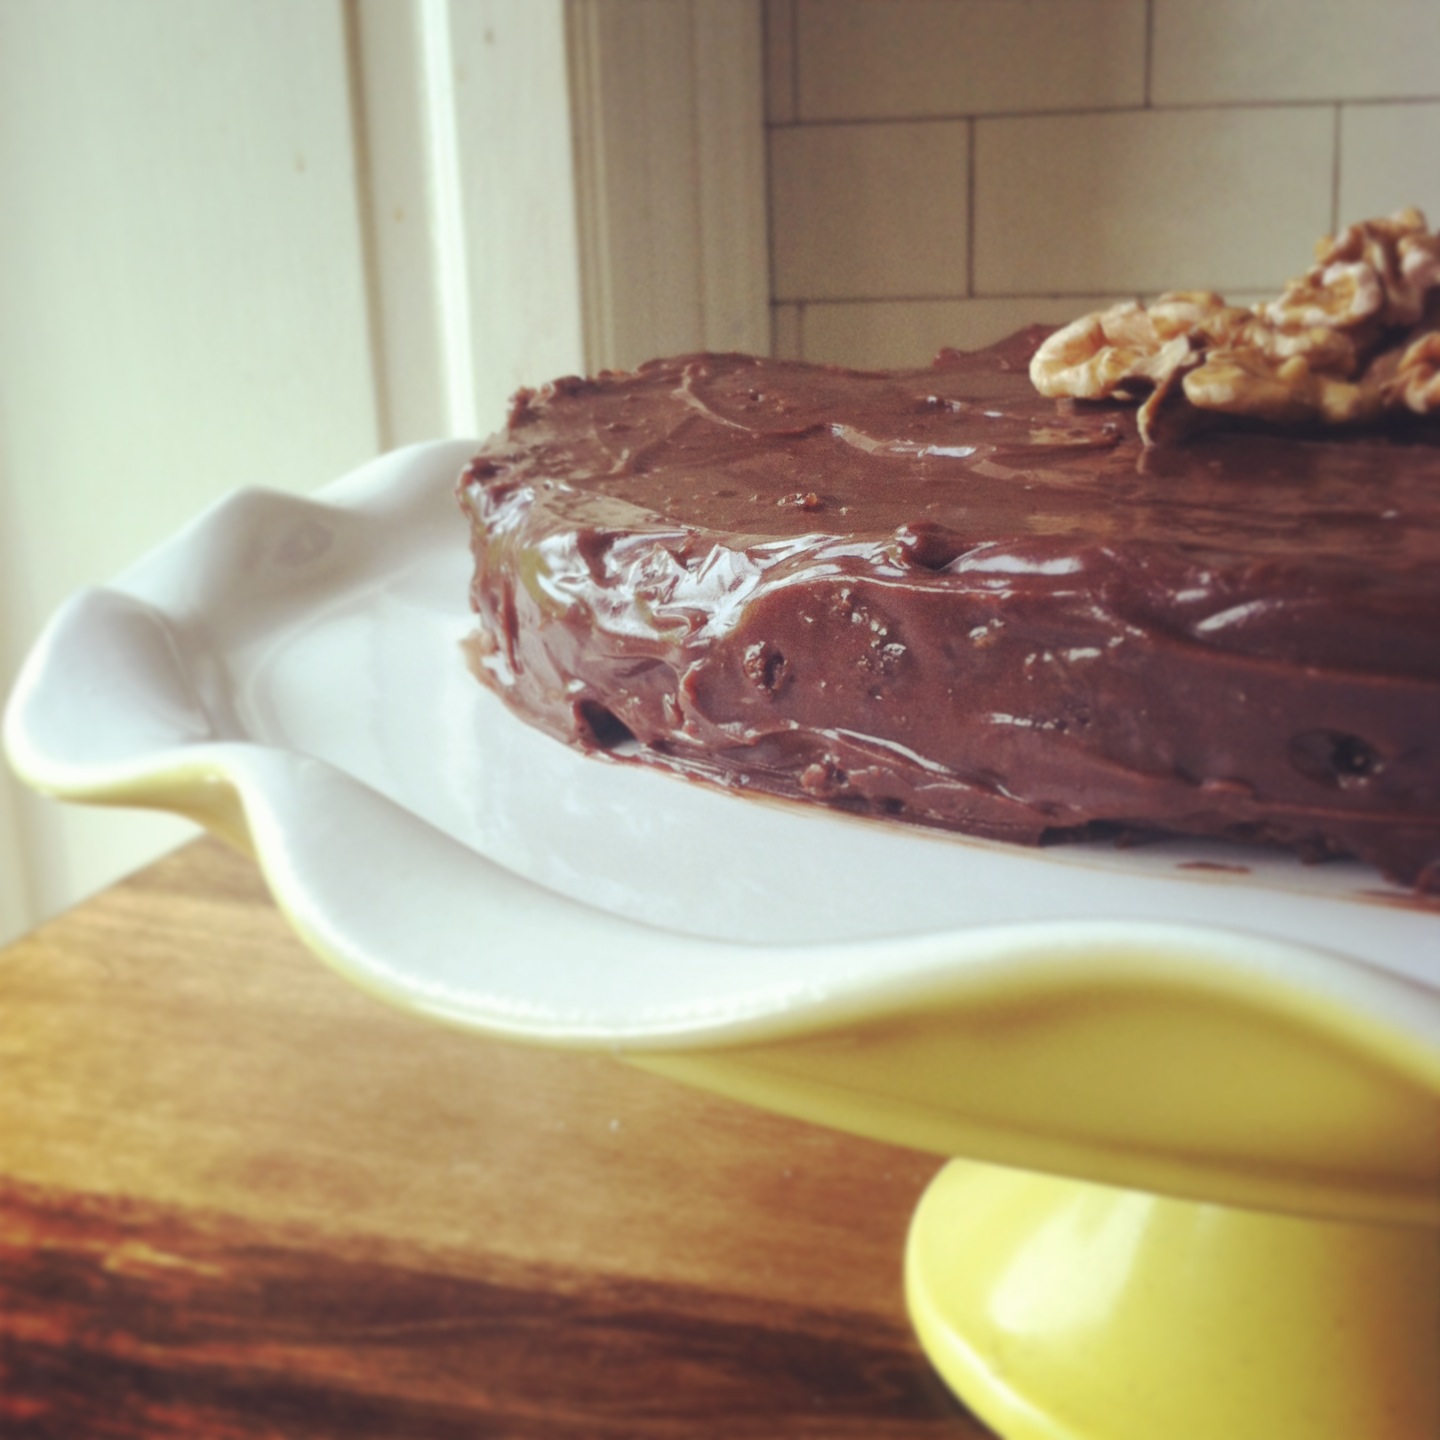
They're grain free and ALMOST refined sugar free. I used melted dark chocolate chips for the outer coating which contain sugar. If you can find me chocolate chips sweetened with honey/maple syrup, I'll pay you big money. I could have made my own chocolate coating but it's more work and it never seems to harden the same way. I'm open to suggestions.

Before we get into the ingredients for this recipe, take a look at what's in a "real" Thin Mint :

Enriched flour (wheat flour, niacin, reduced iron, thiamin mononitrate [vitamin B1], riboflavin [vitamin B2], folic acid), sugar, vegetable oil (partially hydrogenated palm kernel and/or cottonseed oil, soybean and palm oil), cocoa, caramel color, contains two percent or less of cocoa processed with alkali, invert sugar, whey, leavening, (baking soda, monocalcium phosphate), cornstarch, salt, soy lecithin, natural and artificial flavor, oil of peppermint.

Gluten, partially hydrogenated oil, sugar, soy, cornstarch, artificial flavor...No thanks! 


Ingredients:

2 C almond flour
1/2 C coconut flour
2 eggs
1 tsp sea salt
1/2 C unsweetened cocoa powder
4 Tbsp raw honey (I'm not sure how much honey I used...but I would say sweeten to taste)
 2 tsp peppermint extract (I accidentally bought peppermint "flavor" and used as much as needed to my liking)
4 Tbsp coconut oil


Chocolate Coating:


16 ounces dark chocolate
2 tsp peppermint extract (or to taste)
Optional: peppermint sprinkles (mine were not sugar free (oops) but I had wanted to lure the kiddos to eat them with a little extra somethin special. Regret soon set in as they ate too many and I wanted to horde them all for myself).

Instructions:

1) Preheat oven to 350 degrees
2) Line a baking sheet with parchment paper.
3) Mix all ingredients together until you can form a ball
4) Form 1-inch balls then flatten into discs
5) Place on parchment paper and bake for 13-15 minutes. Remove and let cool

image from fedandfit.com
After cookies have cooled, melt chocolate for coating. I melted mine in the microwave in 30 second increments, stirring each time. Once melted, add peppermint extract and mix well. Dip cookies in melted chocolate and place on parchment paper. Chill in refrigerator/freezer to harden. 

image from fedandfit.com


image from fedandfit.com


Recipe adapted from Fed and Fit


Sunday, August 11, 2013

Homemade Chicken Broth

Chicken broth is incredibly easy to make. It's almost mindless when you have a slow cooker. The best part about using a whole chicken is that I also use the meat to make other meals like chicken pot pie or enchiladas. Homemade broth is vastly different from the store bought stuff which is little more than chicken flavored salt water. You know it's good for you when you put it in the fridge for a day or two and it gets jiggly like jello. All the gelatin concentrated in the broth is vital for your joint/tendon, skin, and hair health. It also soothes digestion and gets things moving. It also stimulates the immune system, regulates hormones, and is a natural anti-inflammatory. Got some aches and pains? Heat up some of this and drink it instead of your morning coffee and start your day off feeling well. If I have broth on hand, I drink about 4 oz. with each meal to promote digestion.

Here's the recipe (from Nourishing Traditions):

  • 1 whole organic pastured chicken or 2-3 pounds chicken bones with or without bits of meat, including feet and organs if you have them (I go to my farmers market and find "broth packs" that include necks and feet which make the broth very gelatinous)
  • 4 quarts filtered water
  • 2 T vinegar
  • 1 large onion, coarsely chopped (I omit if I don't have one)
  • 2 carrots coarsely chopped  (I omit if I don't have any)
  • 3 celery sticks, coarsely chopped (I omit if I don't have any)
Slow cooker directions:

Place everything in slow cooker and let sit for half an hour.  Cook on high for 6 to 12 hours (Depending on how much time I have or when I need the broth/meat). The longer it cooks, the more nutrient-dense the broth will be. See step 2 and 3 in stovetop directions for final instructions.

After it's done, I fish out the chicken with a slotted spoon, take the meat off and reserve it for other meals. Sometimes I also reserve the veggies for dishes like pot pie.

Stovetop Directions:

  1. Put chicken and/or chicken parts in a pot, add the water, vinegar and vegetables. Let sit for a half hour, then bring to a boil and remove the scum/foam that rises to the top with a spoon. Reduce heat, cover and simmer for 6 to 12 hours. 
  2. Remove chicken with a slotted spoon and reserve meat for other meals.
  3. Strain the stock into a large bowl. Pour into mason jars (fill below the part of the jar that starts to get narrow or else it may crack in freezer) or paper cups. Let the glass jars sit until they are pretty cool, then cover and freeze or refrigerate.  
A note on getting your broth to "gel" in your slow cooker:
There were times when my chicken broth wouldn't gel. I assumed it was because it was boiling too hard/long in my slow cooker. But then when it also didn't gel with the stovetop method, I knew something was up. Upon further investigation, I found that it had to do with the age and quality of the chicken or chicken parts. See below.


Tips for choosing the right chicken:
  1. Buy a large bird that appears to have been alive for a good, long time. Avoid "young hens" because they won't have as much gelatin and fat needed to gel the broth.
  2. Buy "pastured" birds or other equivalent labeling. This means the bird was outside a large portion of its' life and foraged for things like bugs and seeds which is the intended diet for chickens. If you can't find "pastured," look for "free range."Chances are you're going to have to buy from a local farm or go to a farmers market to find what you need.
  3. Buy organic. Organic doesn't mean that a chicken spent its' life outdoors, foraging for food. It does mean you know that the chickens' diet was primarily made up of non-GMO soy and cornmeal.
  4. If you must buy a plain, ol' chicken, make sure to research the acceptable living conditions. These birds spend most of their lives in a barn with no access to the outdoors, no opportunity to forage for their food and with thousands of unhealthy and/or dead dead chickens packed in around them. Watch the video below for some enlightenment on the issue.

This clip about chickens' living conditions is from the documentary, Food Inc.


Saturday, August 10, 2013

Curing My Gluten Intolerance


When I was sixteen, I had to stop eating gluten. It made me utterly exhausted and caused countless unmentionable digestive issues.  In my first year of college, I realized I could no longer tolerate lactose either. Cutting out mozzarella cheese and ice cream was even more difficult than cutting out gluten. Eating strictly gluten and lactose free, I felt good for a while. College was quite busy…classes, working, unpaid internships, newly married, etc. Once I was a few years out and found a job that didn't keep me up at night, I had time to reevaluate how healthy I was feeling. And finally I realized I wasn't doing all that well. Most days, I'd be bloated and tired for hours after a meal. It’s as if my digestive system was robbing the rest of my body of its’ energy. I’m in my 20’s…shouldn’t I feel better than this? I’d ask myself this almost every day, throwing dozens of pity parties. If I’m avoiding the things I’m intolerant to, in theory I should be well, right?

After months of being totally obstinate to the idea, I decided to take sugar out of my diet, hoping it was the source of my problem.  I read Sally Fallon’s book, Nourishing Traditions, and became totally amused by what was in the food I was eating. The book educates one on the proper way to cook ingredients to get the most nutrients from them, the importance food pairing for optimal digestion, and the necessity for fermented, probiotic-rich foods at every meal. It became so enjoyable to eat yummy things and know what vitamins and minerals I was getting from them. I felt better but still not great.

Then one day, I saw my gluten-intolerant sister, Heather, butter up a wheat roll. It was Easter Sunday and I was all the way on the other end of the table, unable to ask what in the world she was doing to herself. She never cheats! After the meal, I demanded an explanation. We sat at the kitchen island and she explained that after years of not being able to tolerate gluten, she now could! She explained that about a year ago she had begun reading up on something called the GAPS diet. Following GAPS diet protocol, she took out all grains, starches, and refined sugars. I listened with intrigue, but knew it was not going to be something I woke up and started the next day. No corn chips, baked potatoes, hummus, or gluten free bagels? I wasn't so sure it was possible. I had done the no sugar thing for a month at this point, and that was nearly killing me. As awful and hard as it sounded, I couldn’t forget the fact that there could be light at the end of this carb and sugar free tunnel. I ordered the book and read through it over the next week.


The GAPS diet is similar to the Paleo diet, which excludes grains, dairy products, legumes, potatoes, refined sugar, and some others. The GAPS diet excludes grains, starchy vegetables and legumes, refined sugars, and basically anything that comes in a box (processed foods). Although I’m lactose intolerant, I can tolerate raw milk and aged cheese so I was thrilled to hear that the GAPS diet did not exclude dairy products. “GAPS” stands for Gut and Psychology Syndrome, which was created to heal psychological and digestive disorders by nourishing the gut. Dr. Natasha Campbell-McBride, creator of the diet, argues that conditions like autism, schizophrenia, depression, and Celiac disease are a result of a malnourished digestion system.

This diet attempts to heal those all food intolerance if you follow the guidelines fully and I’m incredibly excited to see what happens. I should mention that this is a temporary diet with a focus on healing the digestive system and restoring it to proper functioning.

5 Healing Tools from the GAPS diet:

1)    Fermented Foods and Strong Probiotics (AKA good bacteria): Everybody’s gut has good bacteria and bad. If you’ve ever taken antibiotics to kill off an infection, consequently it killed both the good and bad bacteria. The bad bacteria feeds off refined sugars, starches, and simple carbohydrates. The good feeds off probiotic foods like yogurt and fermented foods (homemade sauerkraut, kimchi, whey, etc.). Why do we need probiotics? These good bacteria help the digestive system break down food and nourish the whole body, including the brain. Without enough good bacteria, our bodies can’t break down food and the undigested stuff becomes food for the bad bacteria.
2)    Homemade Broth: The gelatin and fat (the good kind) in homemade broth soothes and seals the lining of the gut, healing and restoring. Broth is also rich in vitamins and minerals. It has anti-bacterial properties—but does not disturb the beneficial bacteria. Store-bought broth is little more than salty, chicken-flavored water.
3)    Avoiding all grains, starchy vegetables and legumes, and refined sugars: This is the hard one! In order to repopulate the good bacteria in the gut, one mustn’t mobilize the enemy by choice. Eating starchy foods and refined carbs/sugars literally feeds the bad bacteria. Eating entirely grain free is temporary until your body has time to build up a healthy digestive system. Grains also promote inflammation which your gut needs a break from if you're experiencing gluten or another type of intolerance.
4)    Avoiding all processed foods: Go to your pantry and read the ingredients on any given package. Chances are you won't be able to pronounce at least one ingredient listed. Those unpronounceable things shouldn't be entering our bodies. These foods are engineered so that they take forever to rot. Consequently, they're going to be hard to digest and just plain dangerous for consumption. It takes a lot of time and energy to make all your own food. But it’s quite satisfying to lather a juicy burger in your own homemade mayo, topping it with some delicious homemade sauerkraut.
5)    Prayer: You won’t find this one in the book but I definitely would not have survived without God’s reassurance and strength. I firmly believe God designed my body to be able to eat gluten and lactose and that I won't be stuck with this intolerance forever.  I’ve had to pray everyday for self-control. At first, the sugar/ carb cravings were almost unbearable. Not to mention, for the first few weeks I avoided fruit and honey. I thought I would croak before surviving the cravings. But after awhile, they get better. And you learn to praise God for creating weird things that you never thought could be loved like CASHEWS and raisins. 

So here's to the journey! I'll keep you posted on what happens. Let me know if you've had breakthrough on the GAPS diet or another diet. I'd love some encouragement along the way!

Monday, May 13, 2013

Chocolate Cake, Grain, Refined Sugar, and Gluten Free


For the past month and a half, I've been eating grain-free and only using raw honey as a sweetener. It was really hard at first, but I am relieved to admit that I'm no longer craving corn chips and cookies every hour. I'll be posting a more in depth explanation as to why I've decided to deprive myself of all things refined, starchy, and carb-rich. But! Until then enjoy this incredibly delicious and luxurious grain-free chocolate cake recipe! I brought it home for Mother's Day and my family gobbled it up (even those who are use to refined sugar in their desserts) Raw honey is a wonderful subsitute and is incredibly easy for your body to digest. It has properties that actually boost your immunity instead of killing it like white sugar does! Thanks to the Unrefined Kitchen for the recipe!

Cake Ingredients (for ONE 8″ round cake* about 1 1/2″ thick):
1/3 cup coconut flour
1/4 cup arrowroot (I didn't have any so I used 1/4 cup plus 2 Tbs. coconut flour)
1/4 cup almond flour
1/4 cup cacao powder or cocoa powder
3/4 tsp. baking soda
1/2 tsp. salt
1/4 tsp. baking powder
1/3 cup honey (raw, find it in the natural section of your grocery store or order online)
3 eggs
1/3 cup coconut oil or melted butter
2/3 cup milk (I used raw homemade yogurt)
1 Tbsp. lemon juice
1/2 tsp. vanilla
Cake Directions:
1. Preheat oven to 350 degrees. Line an 8″ round cake pan* with parchment paper.
2. Combine coconut flour, arrowroot, almond flour, cacao, baking soda, salt and baking powder in a bowl and whisk to combine.
3. Add honey, eggs, coconut oil or melted butter, almond milk, lemon juice and vanilla to the dry ingredients and mix well. (I use an electric hand mixer.) My batter was more like dough)
4. Pour cake batter (less "pour," more plop) into parchment paper-lined cake pan*. Bake at 350 degrees for 17-22 minutes. Remove from oven when toothpick inserted comes out clean. Try not to overbake.
5. Cool completely and frost cake with chocolate frosting.

Frosting Ingredients  (I doubled it so I could lick the spoon!)
1/4 cup coconut oil
1/4 cup softened butter
2-4 Tbsp. honey (depending on how sweet you like it)
2 Tbsp. cacao
1 tsp. vanilla
pinch of salt
Frosting Directions:
1. Combine all ingredients and whip together with electric mixer. (If the frosting is too runny due to liquified coconut oil, place in fridge for a short time and re-whip.)
2. Spread on cooled cake

1) Gather Ingredients

2) Juice the lemon

 3) Milk the goat
Milk for homemade yogurt came from this adorable little friend
4) Mix dry ingredients4


4) Mix wet ingredients, then mix the two together with an electric mixer
I doubled the recipe, hence the 6 eggs, but ended up eating the other cake before I could make it layered.
5) Serve with fresh fruit, nuts or both!


Thursday, May 9, 2013

A Retro Honeymoon Shower

My sister, Rachael, is getting married in almost a week! A few weeks ago, me, my other sister, Ellie, and Rachael's best friend, Chrissy, threw her a Honeymoon Shower at my home. Guests were encouraged to shower Rachael with items she could pack for the honeymoon. She got lots of fun things...from bathing suits and dresses to crossword puzzles and water guns!

Rachael and Jonathan are going to Mexico for their honeymoon so we decided on a retro, tropical theme for the shower. We used antique globes, vintage cameras, cherries, Jantzen swimwear ads, and toothpick umbrellas to transport us to the 1950s. I made Mexican garland (papal picado) with a paper punch, tissue paper fringe( I was inspired here), and ribbon garland as a backdrop for the table. We spray painted gold some exotic toy animals I found at Michael's for $1. Chrissy made Hawaiian flower pens for party favors and to use during games.

The guests were invited to enjoy appetizers and desserts. For appetizers, we served bite-sized tacos and quiches, Mexican 7 layer dip with tortilla chips, and ground beef queso. For dessert, we served cupcakes with coconut buttercream icing, fresh fruit with the chocolate fountain, peanut butter buckeyes with pink icing, and mini fruit pizzas on gluten free cookies! We also served a tropical juice cocktail, with an umbrella of course!


Chrissy and Rachael

Ellie and Rachael

Rachael, I love you so much and can't wait for you to be married! You're such a blessing to me and so many others. Your creativity is mind-blowing and your desire to glorify God through it is inspiring.

Check out our Pinterest board for more Honeymoon Shower ideas!

Wednesday, April 10, 2013

My Vintage Wedding Dress


As soon as Jake proposed, naturally, I started looking for a dress. I tore through countless bridal magazines and performed hundreds of internet searches. Sadly, I just wasn’t impressed with the selection. There were lots of beautiful dresses but none that I had imagined wearing at a southern farm wedding in my parents' barn. With a small budget and high standards, I knew it was going to be a challenge to find a dress.

I had one requirement for wedding dress shopping: I would not step foot into a stuffy bridal boutique…the kind where they serve bubbly water and artificial opinions. Fortunately, I soon realized the texture and style I had in mind echoed of another age and I knew I wouldn’t find it regular bridal shop (whew!)

I deemed my dream dress to be of vintage origins and set out to find it, however long it would take. Were vintage dresses more money? I didn’t have a clue. My mom and I decided to go to some antique stores to scout out our playing field. After stumbling upon one-too-many long-sleeved, polyester, 1970’s dresses, I started to realize how hard it would be. But hope wasn’t lost until all resources had been exhausted...we hadn’t actually been to any clothing-specific vintage shops yet.

One Saturday morning, my mom and younger sister, Rachael, made a trip here to Richmond to begin our vintage clothing shop conquest. With only two places in mind, we agreed we needed backup.  We sat in the car before our search began and prayed that God would help us find the perfect dress he had already chosen for me (I highly recommend this practice). 
Bygones Vintage Clothing in Richmond, VA

The first shop on our list, Bygones, was just charming. Heading over to the first thing I saw, I started fumbling through some 1950’s party dresses attempting to look unsuspicious as not to attract any special attention. My plan went awry almost as quickly as it had begun when Rachael called out for all to hear, “Hannah, the wedding dresses are back here!!!”

In the tiny dressing room with a curtain for a door, unreasonable amounts of shuffling, and squawking took place in order to get into a dress and out the “door." I soon realized why brides preferred those uppity shops. 

As soon as it was buttoned, I knew this was the dress. It needed some work, but it was just what I had envisioned…intricate cascading lace, a full skirt, and a 1950’s waistline.


I tried on two other dresses and decided that they didn’t compare to the first. I wiggled back into the dress with billowing lace. By this point, employees and customers had gathered round to see which dress I would choose. Feeling a bit pressured to produce some Saturday afternoon entertainment for these people, I announced that this was the dress. My mom stuffed me and the dress back into the fitting room and out I popped minutes later, ready to make my purchase.

As I signed the check, I thanked God for providing such a perfect dress with such a lovely price. The dress ended up being a whopping $375! You can’t beat that kind of deal for all that lace. The woman at the checkout recommended a seamstress who specialized in vintage dresses. When we got in the car, we called the seamstress who told us she was free right then. We scurried on over and had the most charming meeting. She was confident that she would be able to fix up the dress to my liking.

“I will greatly rejoice in the Lord;
my soul shall exult in my God,
for he has clothed me with the garments of salvation;
he has covered me with the robe of righteousness,
as a bridegroom decks himself like a priest with a beautiful headdress,
and as a bride adorns herself with her jewels.” Isaiah 61:10


Tips for finding a vintage wedding dress:

 1) Pray 

  • The Lord loves to give good gifts to his children! (Matthew 7:11)

 2) Locate vintage clothing stores in your state

  • Do a google search for stores

  • Ask vintage clothing shop owners where other stores are located

  • Call before going to a shop to find out their hours, wedding dress inventory, etc.

  3) Shop online

  • Beware that it can be hard to tell the quality of the clothing from a picture 

  •  BARGAIN! There aren't a ton of people looking for vintage wedding dresses so sometimes vendors are in a hurry to sell, even at a lower price than listed.

  • Etsy.com 

  • Ebay.com

  • Pinterest.com

4) Be aware that most 1950's waistlines are pretty tiny...like 24 inches tiny. And the boob area is usually pointy (not a fan).


5) Find a seamstress that you can trust. Make sure she specializes in vintage clothing. Most vintage needs a good, long soak to remove stains and dust. You really don't want to give the dry cleaner an opportunity to kill a 60-year-old dress.


6) Ask your grandma, great grandma, your fiance's grandma, and your friend's grandma if you can rummage through their attic for their wedding dress (try and find a picture first so you know what you're getting yourself into!).


7)  Other places to keep your eye out (Call ahead to ask about their selection):

  • Estate Sales

  • Antique Malls

  • Thrift stores

Wednesday, March 27, 2013

Springtime Festivities

Life just hasn't stopped for one minute to let me catch up this week. In lieu of no time, here are some picture highlights from the last few days:     


Every Sunday night, we have a group of friends over for dinner and hearty conversation. We've met most of them at church or college. When we get together we talk about the most recent Redemption Hill sermon. We discuss what we liked, things that didn't make sense, and the vastness of God's wisdom. We share our lives with each other and how our weeks have been. We've been doing this since December and it's just been so awesome. It's nice to have people that know and care about what's going on in my life, week in and week out.

This past week we decided to celebrate Passover for our Sunday night dinner (I wrote briefly about the history of Passover here and my mom just posted about it here!). During the Passover meal, the story of how the Jews were powerfully delivered is told. Each item on the menu symbolizes something from the story. For example, a bowl of salt water represents the Jews' tears as they cried out to God to deliver them from slavery. As Christians, we celebrated Jesus, the Lamb of God, who died as the ultimate sacrifice for sin.

"For you know that it was not with perishable things such as silver or gold that you were redeemed from the empty way of life handed down to you from your ancestors, but with the precious blood of Christ, a lamb without blemish or defect.  He was chosen before the creation of the world, but was revealed in these last times for your sake. Through him you believe in God, who raised him from the dead and glorified him, and so your faith and hope are in God." 1 Peter 1:18-21


Tiny thing miraculously fed us all...$18 later
I made Herb Roasted Leg of Lamb. I said many-a-prayer throughout the day as it cooked. I've never made lamb so I was a bit nervous to serve it to everybody. It ended up turning out! I tucked the recipe away for next year.


Kombucha
My kombucha was finally ready today after ten days of brewing! If you haven't been introduced to this lovely beverage, it's basically fermented sweet tea. As it ferments, the sugar gets eaten up so when it's time to drink, it doesn't leave that sugary film on your tongue. Once you bottle it up and let it sit another few days, it can become bubbly like soda. It has live cultures galore (good bacteria) so it aids in digestion and everything else that goes along with a healthy tummy. It also helps your body detox. I got my starter (SCOBY) from my sweet friend, Jess. One bottle of this stuff at the store is $3.99, so I'm pumped that I'm finally making my own and saving some cash.

yum!


The SCOBY will remain hidden...not too photogenic.


I made some chicken broth last week. I put a whole chicken and some veggies in a slow cooker for 24 hours and out pops this beautiful stuff...


Homemade Chicken Broth


The chicken broth recipe is very easy or else it wouldn't have gotten done. The best part about using a whole chicken is that I also use the meat to make other meals. We've already used it to make chicken pot pie and I'll make enchiladas tonight. Homemade broth is so different from the store bought stuff. You know it's good for you when you put it in the fridge for a day or two and it gets jiggly like jello. All the gelatin concentrated in the broth is vital for your joint/tendon, skin (your very own fountain of youth!), and hair health.
It also soothes digestion and gets things moving. It also stimulates the immune system, regulates hormones, and is a natural anti-inflammatory. Got some aches and pains? Heat up some of this and drink it instead of your morning coffee and start your day off feeling well. 

Here's the recipe (from Nourishing Traditions):


  • 1 whole organic pastured chicken or 2-3 pounds chicken bones with or without bits of meat, including feet and organs if you have them
  • 4 quarts filtered water
  • 2 T vinegar
  • 1 large onion, coarsely chopped
  • 2 carrots coarsely chopped 
  • 3 celery sticks, coarsely chopped (Sometimes I omit if I don't have any)
I put mine in a large slow cooker and cook for 8 to 24 hours (Depending on how much time I have or when I need the broth/meat). The longer it cooks, the more nutrient-dense the broth will be.

After it's done, I fish out the chicken with two slotted spoons and take the meat off and reserve it for other meals. Sometimes I also reserve the veggies for dishes like pot pie as well.

Stovetop Directions:
  1. Put chicken and/or chicken parts in a pot, add the water, vinegar and vegetables. Let sit for a half hour, then bring to a boil and remove the scum/foam that rises to the top with a spoon. Reduce heat, cover and simmer for 6 to 24 hours. 
  2. Remove chicken with a slotted spoon and reserve meat for other meals.
  3. Strain the stock into a large bowl. Pour into mason jars or paper cups. Let the glass jars sit until they are pretty cool, then freeze or refrigerate. 

Frozen Chicken broth

I used paper cups covered with foil. I know it's not the most eco-friendly option, but I haven't built up my mason jar collection yet. 

 
DIY Pom Pom Chicks


While nannying this past week, the kids and I made these adorable little guys (get directions here!) They were pretty easy and even the 4-year-old was able to use kiddie scissors to help make the pom poms. We want to try and make bunnies today! 


DIY Pom Pom Bunny

Happy Easter!
 

Wednesday, March 20, 2013

Table Tales: A Lasting Supper


“It’s time to eat!!!” My mom would cry as she clanked the cowbell with her sturdy spoon. By the third time, she could start to make out the barefooted tornado of dirt, curls, and laughter migrating towards her. As hard as it was to pull ourselves away from playing, we knew even as kids, the next part of our day was worth it.

With a fussing baby on her hip, my mom flawlessly flung potato soup into seven bowls. As my dad thanked the Lord for our meal, everyone seemed to breathe a sigh of relief. Seated at this table, all was right in the world. This was our safe haven from every storm of the day. As each daughter recounted her day, my parents would intently listen and ask questions. They encouraged us to create and work hard, always inspiring us to use our gifts and talents. The most important thing that happened at that table was how they taught us to trust in something bigger than our family. They told us in how they lived their lives and their words, that Jesus was bigger and even better than these moments together and one day we will all be seated with him at his table.

Mealtime is somewhat magical. Amidst the craziness of the day, every person on the face of the planet must stop and take a moment to refuel. It reminds us of our mortality and forces us to rest. In the Bible, God makes a point to show himself to his people over meals. When the Israelites cry out to God to deliver them from slavery in Egypt, God hears them. He sends awful plagues to exhaust the Egyptians until they release his people from slavery. But when they don't, God sends a final plague that will really shake them up. God sends the angel of death to kill every firstborn child in the land, including Pharaoh’s son. 

God instructs his people to eat a “Passover” dinner that night, which included a lamb and bitter herbs, representing their slavery. He tells them to kill the lamb and spread its’ blood over their doorposts so that when the angel came to kill, he would see the blood and pass over their home. The people had to believe that the lamb was killed in place of their firstborn child and only then would the angel skip their home.

The Israelites left Egypt that night. God commanded the people to eat this meal every year to remind them that it was He who had delivered them from slavery. The people made it a tradition to eat this same meal once a year and tell their children the story of “Passover.”

Skip a few hundred years to when Jesus was on earth. The night before he died, he was celebrating the Passover meal with his friends. They thought he would reign as king of the Jews forever. But Jesus knew the reason he came was to die. As they ate the meal that reminded them of the night when the angel passed over Israel’s homes, Jesus gave them a new dinner tradition. He took a loaf of bread, broke it and told them that it represented his body. He told them to eat it and remember. Then he held up the cup of wine and told them to drink his blood. Yes, that sounds a bit creepy if you didn’t grow up hearing it, doesn’t it? Jesus went on to say that his blood represented the new promise between God and people. No longer was the blood of a lamb needed to pay for their sins. His blood would be the perfect sacrifice for everybody who believes.


The next day, like a lamb he was led to his slaughter, yet he did not open his mouth to protest. And just like the Passover lamb, he was killed.

But he was pierced for our transgressions,
he was crushed for our iniquities;
the punishment that brought us peace was on him,
and by his wounds we are healed.” Isaiah 53:5

Jesus said something during the Passover dinner that I hadn’t noticed before until now,

“I have eagerly desired to eat this Passover with you before I suffer. For I tell you, I will not eat it again until it finds fulfillment in the Kingdom of God.” Luke 22:15

Fulfillment in the Kingdom of God? What’s that about? I flipped over to Revelation and got butterflies in my tummy as I read about heaven.

“Let us rejoice and be glad and give him glory! For the wedding of the Lamb has come…Blessed are those who are invited to the wedding supper of the Lamb!” Revelation 19:7-9

Another meal! This meal will definitely top all the others. I love getting a glimpse of heaven. It is at the wedding supper of the Lamb that we will find completeness in Christ and see him fulfill his promises in the Kingdom of God! No longer will we be bound by our brokenness and tendency to sin against God. At this meal we will celebrate our redemption as sons and daughters. What a meal that will be as we find our names at the table with God, celebrating that his son, the Lamb, has adopted us into his family forever. 
Photo Credit Kristen Mills